Wordpress
You can add a voice recording embed to any page in your Wordpress site in a few steps. In this page we will guide you in creating a contact page with an audio recording widget on it for your visitors to send you quick and easy voice messages.
- You will need to be logged into your Wordpress account.
- You will need enough access to modify the theme.
Modify the Theme Template
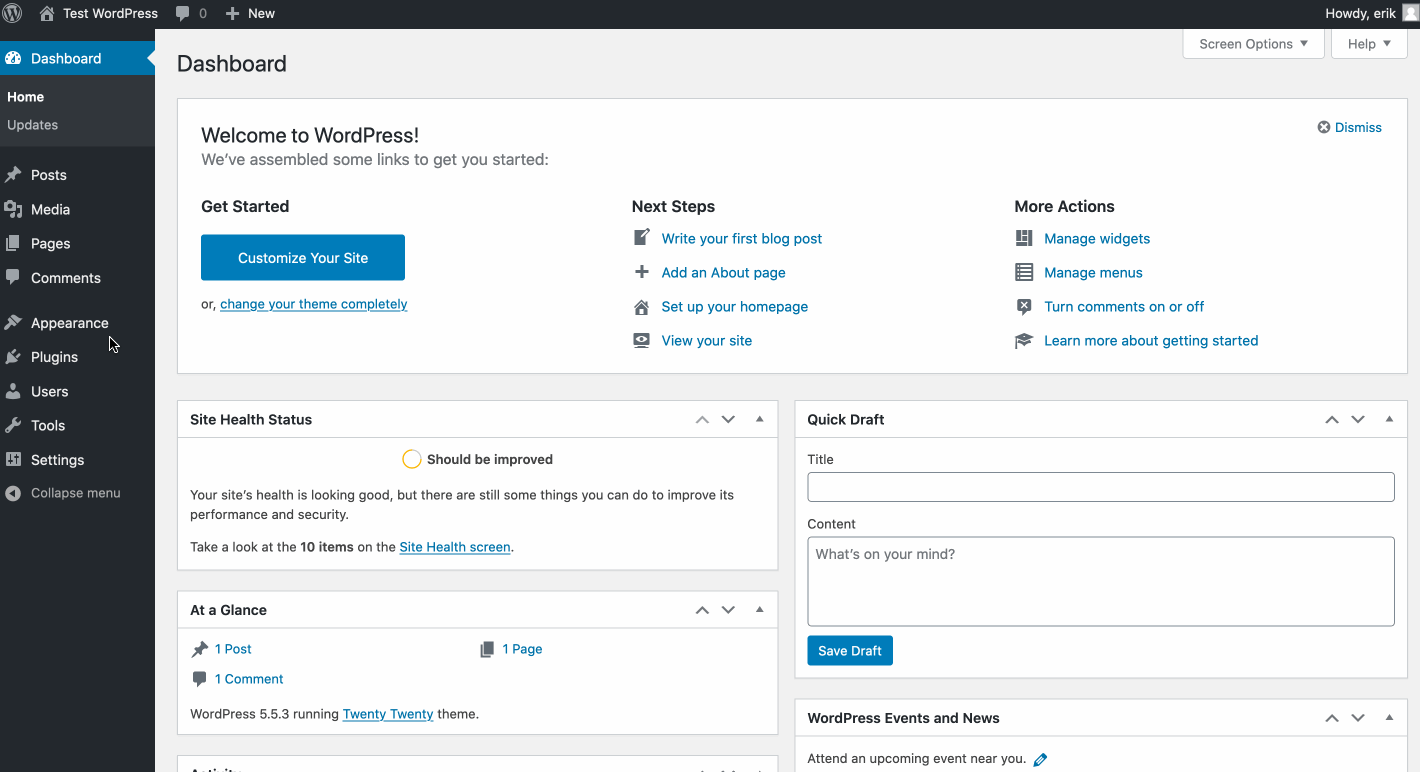
From the Wordpress administration control panel navigate on the left to Appearance and then to Theme Editor
You may be prompted about being careful within the Theme Editor area. Click to dismiss the prompt. On the right column find the Theme Header (header.php) file and click the link.

In this file you want to locate the </head> tag. Place the widget script tag in the lower half of this section but before the </head>. Be sure to hit the save button at the bottom of the page.
<script src="https://cdn.soundbite.so/embed.js" defer></script>Adding a Page
In this section we will create a page where the Soundbite recording embed will show up. Allowing your visitors to leave you a voice message from their browsers on their computers or mobile devices. Since we've previously added the embed JavaScript code, we can place the following code anywhere we need the embed to show up to collect audio messages.
From the Wordpress administration contral page, click Pages and Add New. Enter a title for your page.

After you've added a title for your page. Hover in the Choose a block area and click Add (+) and search for Custom HTML. In the block that shows up paste in the HTML from your Widget settings in your Soundbite account.
<div data-soundbite data-soundbite-token="your-account-token"></div>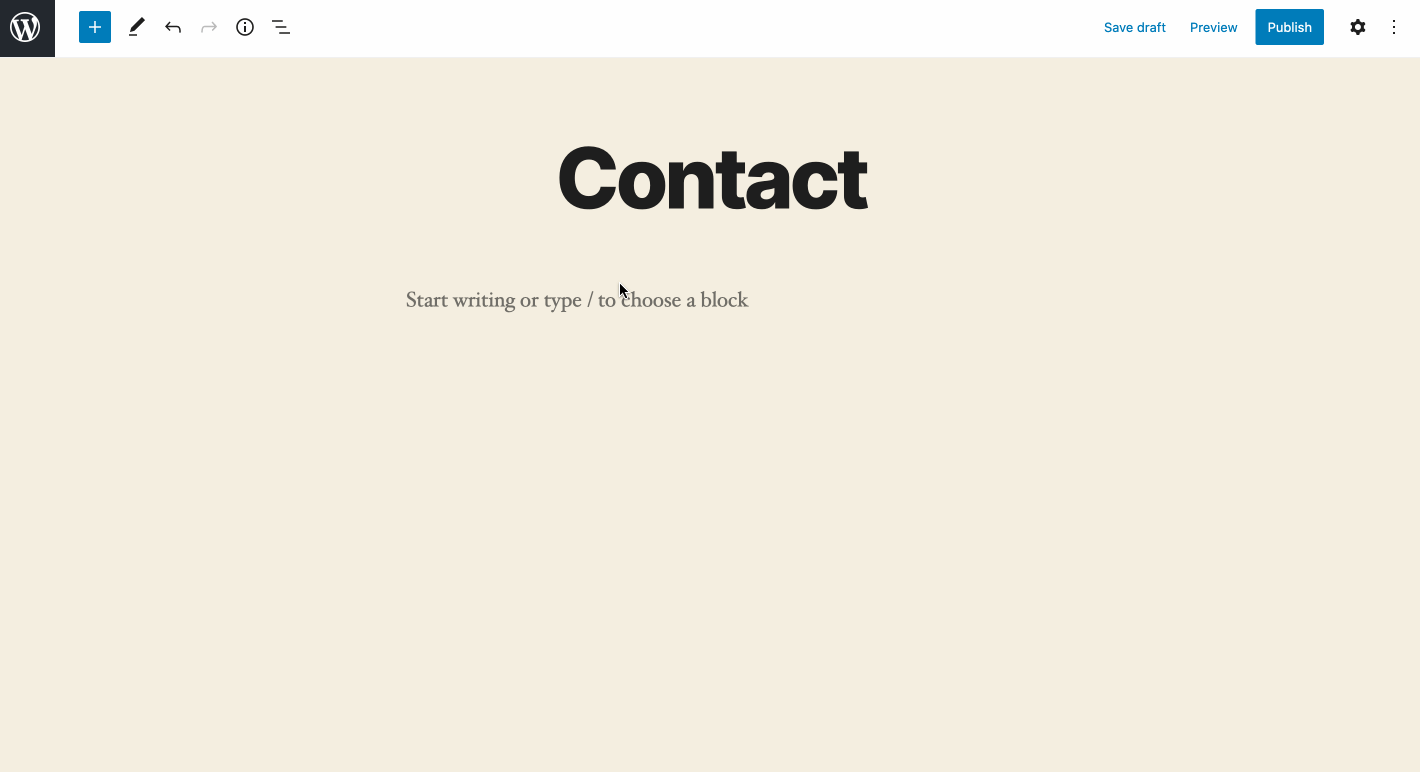
You may need to configure your Allowed sites to enabled the embed to render the recorder. You can also customize your embed widget in your Account settings.